
INTERODUCTION:-
Have you ever seen something important on your computer screen and wished you could save it instantly? That is exactly what a screenshot does. Whether you want to capture an error message, save a funny conversation, document your work, or share information quickly, knowing how to take a screenshot on Windows is one of the most useful skills any computer user can have.
The good news is that Windows gives you multiple powerful ways to take a screenshot on Windows — from a simple keyboard shortcut that works in seconds to advanced tools that let you annotate, crop, and share your captures professionally. In this comprehensive guide, we cover every single method, step by step, so that by the end you will be a true screenshot expert.
No matter if you are using Windows 7, Windows 10, or Windows 11, this guide has you covered. Let us dive in.
Why Everyone Should Know How to Take a Screenshot on Windows
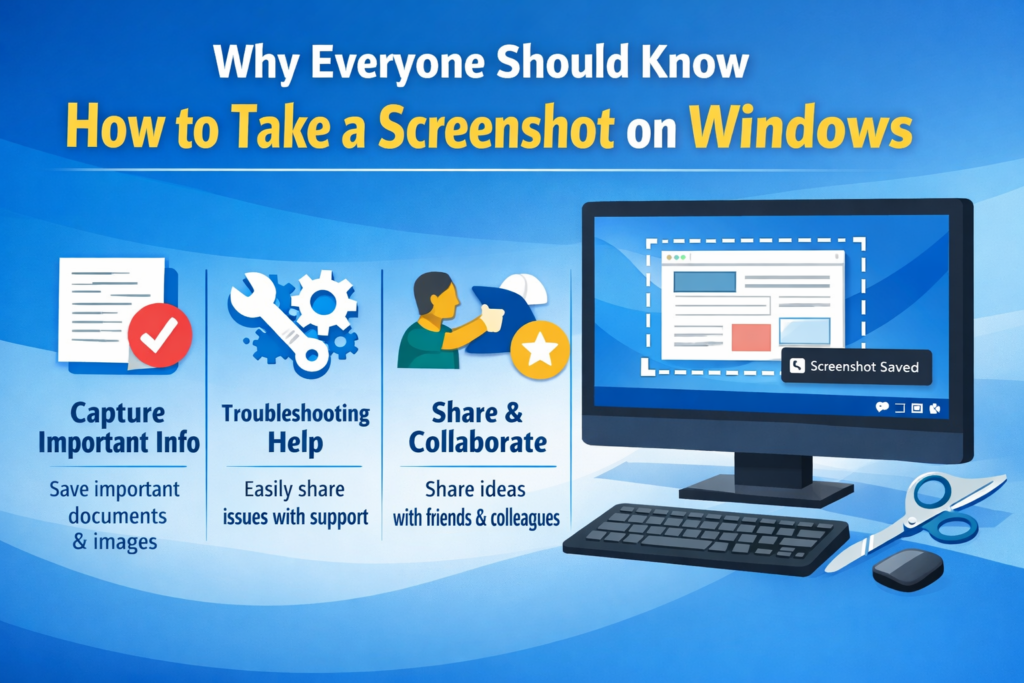
Before exploring the different methods to take a screenshot on Windows, let us understand why this skill is so important in everyday life:
- Save Proof: Capture receipts, order confirmations, or bank transactions for your records.
- Report Bugs: Developers and IT teams rely on screenshots to document errors and bugs.
- Create Tutorials: Teachers, bloggers, and YouTubers use screenshots to explain software step by step.
- Share Information Fast: Instead of typing a long explanation, a screenshot says everything in one image.
- Online Shopping: Save product images, prices, and deals before they change.
- Academic Work: Students capture research data, graphs, and citations for their assignments.
- Remote Work: Share what is on your screen with teammates during meetings or support sessions.
Method 1: Print Screen Key (PrtScn) — The Classic Way
The simplest and oldest way to take a screenshot on Windows is by pressing the Print Screen key, usually labeled PrtScn or PrtSc on your keyboard. This method has been around since the early days of Windows and still works perfectly today.
Three PrtScn Shortcuts You Must Know:
- PrtScn alone: Copies the entire screen to your clipboard. Open Paint, Word, or any app and press Ctrl + V to paste and save it.
- Alt + PrtScn: Captures only the active window you are currently working in — nothing else.
- Windows + PrtScn: Automatically saves a full-screen screenshot as a PNG file in your Pictures > Screenshots folder. No pasting needed.
Pro Tip: Windows + PrtScn is the fastest way to take a screenshot on Windows and save it automatically. Your screen will dim briefly to confirm the capture.
Method 2: Snipping Tool — The Built-in Screenshot Expert
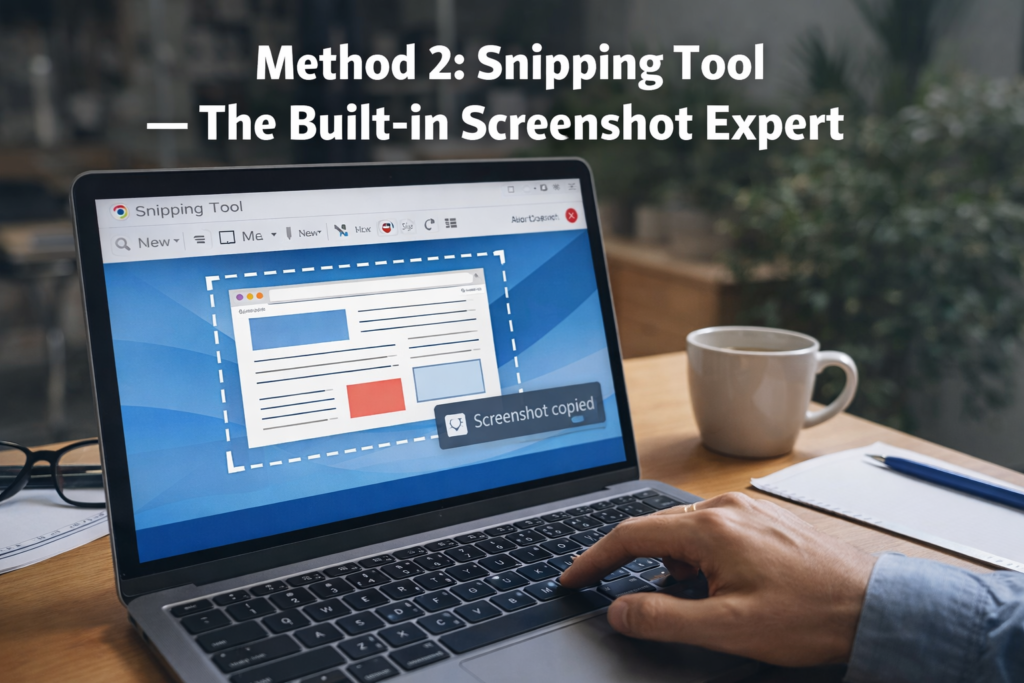
Windows has a dedicated built-in application called the Snipping Tool that is designed specifically to help you take a screenshot on Windows in a more flexible way. It lets you capture any shape or region of your screen, not just the full display.
How to Open Snipping Tool:
- Press the Windows key, type Snipping Tool, and click it to open.
- Or press Windows + Shift + S to launch it instantly from anywhere.
Four Capture Modes Available:
- Rectangular Snip: Draw a rectangle around any part of the screen.
- Freeform Snip: Draw any custom shape with your mouse.
- Window Snip: Capture a specific open window.
- Full-screen Snip: Capture the entire screen instantly.
After you take a screenshot on Windows using Snipping Tool, you can annotate it with a pen, highlight key areas, crop the image, and save it in PNG, JPG, or GIF format. This tool is perfect for teachers, writers, and anyone creating tutorials.
Method 3: Snip & Sketch — The Modern Screenshot Tool
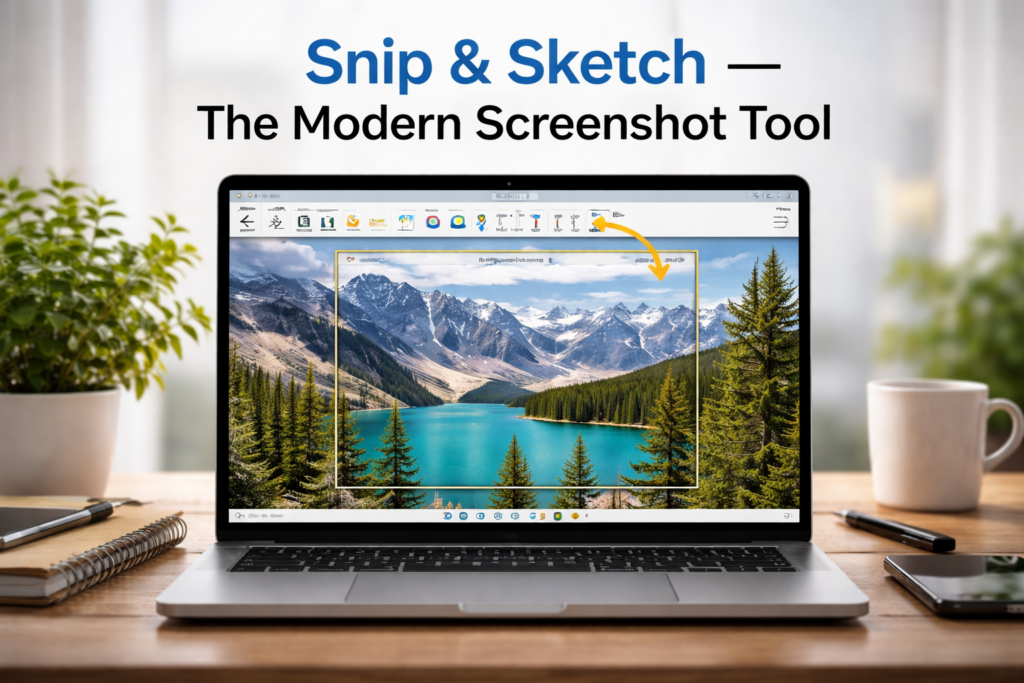
On Windows 10 and Windows 11, Microsoft introduced Snip & Sketch as an upgraded way to take a screenshot on Windows. It combines screen capture with annotation tools in one clean, modern interface.
How to Use Snip & Sketch:
- Press Windows + Shift + S to open the Snip & Sketch toolbar at the top of your screen.
- Choose your capture mode: Rectangular, Freeform, Window, or Full-screen.
- Your screenshot is instantly copied to your clipboard.
- A notification appears in the bottom-right corner — click it to open and edit your capture.
- Annotate with pen, pencil, or highlighter tools.
- Save as PNG or JPG, or share directly from the app.
Snip & Sketch is now the recommended default method to take a screenshot on Windows 10 and 11. It is faster, smarter, and more feature-rich than the classic Snipping Tool.
Method 4: Xbox Game Bar (Great for Gamers)
If you are a gamer or want to take a screenshot on Windows while playing a game without minimizing the screen, the Xbox Game Bar is your best friend. It is built into Windows 10 and 11 and works seamlessly in full-screen applications.
- Press Windows + G to open the Xbox Game Bar overlay.
- Click the Camera icon in the Capture widget to take a screenshot on Windows.
- Or use the keyboard shortcut: Windows + Alt + PrtScn.
- Your screenshot is automatically saved in Videos > Captures folder.
Xbox Game Bar saves captures in PNG format at your game’s native resolution, making it the highest quality way to take a screenshot on Windows for gaming content.
Method 5: Laptop-Specific Screenshot Shortcuts
On some laptops, especially those without a dedicated PrtScn key, you may need a slightly different key combination to take a screenshot on Windows. Here are the most common laptop-specific shortcuts:
- Fn + PrtScn: On compact laptops where PrtScn is a secondary function key.
- Fn + Windows + PrtScn: To auto-save on laptops with function-key layout.
- Fn + Space: On some HP and Lenovo models.
- Volume Down + Power: On tablets running Windows (similar to mobile screenshot).
Where Are My Screenshots Saved on Windows?
One of the most common questions people ask after they take a screenshot on Windows is: where did it go? Here is a quick reference guide:
- Windows + PrtScn: Saves automatically to C:\Users\YourName\Pictures\Screenshots
- PrtScn alone: Saved only to clipboard — paste into Paint or Word to save as a file.
- Snip & Sketch: Saved to clipboard by default; save manually by clicking Save As.
- Snipping Tool: You must click File > Save As after capturing.
- Xbox Game Bar: Automatically saves to C:\Users\YourName\Videos\Captures
Best Free Third-Party Apps to Take Screenshots on Windows
While Windows built-in tools are excellent, some users need extra features. These free apps take the ability to take a screenshot on Windows to a whole new professional level:
- Greenshot (Free): Lightweight, fast, supports direct upload to Imgur, Dropbox, and Google Drive.
- ShareX (Free): Extremely powerful — scrolling screenshots, GIF recording, OCR, and automated workflows.
- Lightshot (Free): One-click capture with instant editing and one-click sharing online.
- Snagit (Paid): Professional-grade tool used by companies for creating documentation and training material.
- PicPick (Free for personal): Comes with a full image editor, color picker, pixel ruler, and more.
How to Take a Scrolling Screenshot on Windows
A regular screenshot on Windows only captures what is visible on your screen. But what if you want to capture a full webpage, a long chat conversation, or an entire document? That is where scrolling screenshots come in. Unfortunately, Windows does not have a native scrolling screenshot feature yet. However, you can use ShareX (free) which has a built-in scrolling capture mode, or use browser extensions like GoFullPage for Chrome or Webpage Screenshot for Firefox to take a screenshot on Windows of an entire webpage in one image.
Troubleshooting: Screenshot on Windows Not Working?
If you press PrtScn and nothing seems to happen, or your screenshot on Windows is not saving, try these fixes:
- Press Fn + PrtScn: Your laptop may require the Fn key to activate PrtScn.
- Check the Screenshots Folder: Go to Pictures > Screenshots to see if files are saving there.
- Clipboard Check: Open Paint and press Ctrl + V — if the screenshot pastes, your capture worked fine.
- Restart Windows Explorer: Open Task Manager, find Windows Explorer, and click Restart.
- Check OneDrive Settings: OneDrive sometimes intercepts screenshots. Disable this in OneDrive Settings > Auto Save.
- Update Drivers: Outdated display drivers can occasionally cause screenshot issues.
- Try Snip & Sketch: Press Windows + Shift + S as an alternative if PrtScn is not responding.
How to Annotate and Edit Screenshots on Windows
Taking the screenshot is only the beginning. To make your screenshots clear and professional, you should annotate and edit them. Here is how to do it after you take a screenshot on Windows:
- Paint (Built-in): Open your screenshot in Paint to crop, resize, draw arrows, and add text.
- Paint 3D: A more modern version with 3D objects and better text tools.
- Snip & Sketch: Has built-in pen, pencil, highlighter, and eraser tools for quick annotations.
- Microsoft Photos: Good for basic cropping, brightness adjustment, and filters.
- Free Online Tools: Canva, Photopea, or Pixlr — all free browser-based editors with professional results.
Quick Reference: All Screenshot on Windows Shortcuts
Here is a handy cheat sheet of every keyboard shortcut you can use to take a screenshot on Windows:
- PrtScn — Copy full screen to clipboard
- Alt + PrtScn — Copy active window to clipboard
- Windows + PrtScn — Save full screen as PNG automatically
- Windows + Shift + S — Open Snip & Sketch selection tool
- Windows + G — Open Xbox Game Bar
- Windows + Alt + PrtScn — Save game screenshot via Xbox Game Bar
- Fn + PrtScn — Copy full screen (on laptops with Fn key)
Conclusion: Master the Screenshot on Windows Today
Now you know every method available to take a screenshot on Windows — from the classic PrtScn key to the modern Snip & Sketch tool, from gaming captures with Xbox Game Bar to full-page scrolling screenshots with ShareX. Each method has its own strengths, and the best one depends on what you need.
For everyday quick captures, use Windows + PrtScn or Windows + Shift + S. For professional work with annotations, go with Snip & Sketch or Greenshot. For gaming, Xbox Game Bar is your best option. For full-page web captures, ShareX or a browser extension is the right choice.
Learning how to take a screenshot on Windows properly will save you time, make your communication clearer, and help you work more efficiently every single day. It is a small skill with a massive impact on your daily productivity.